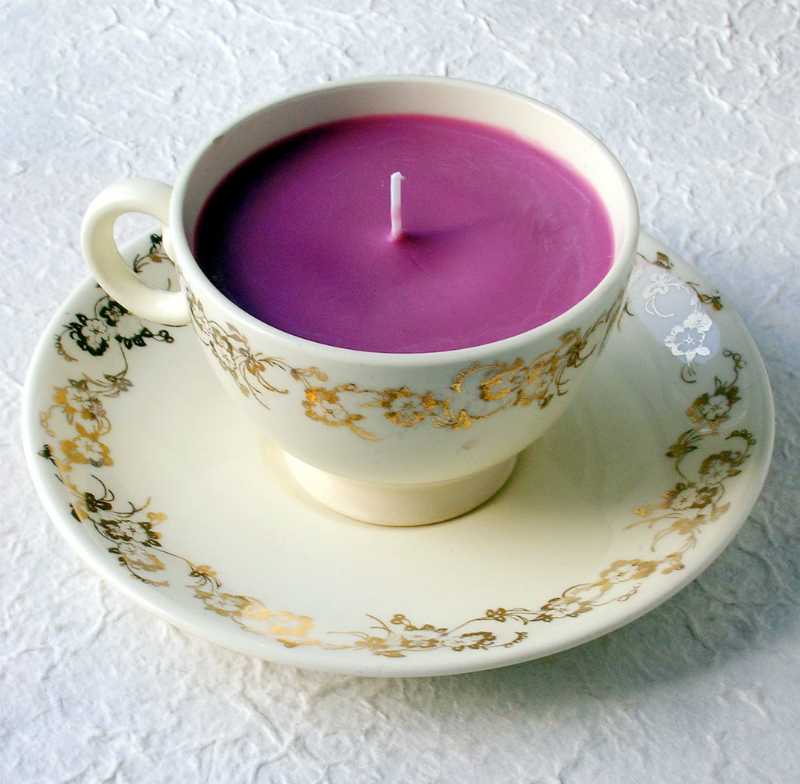
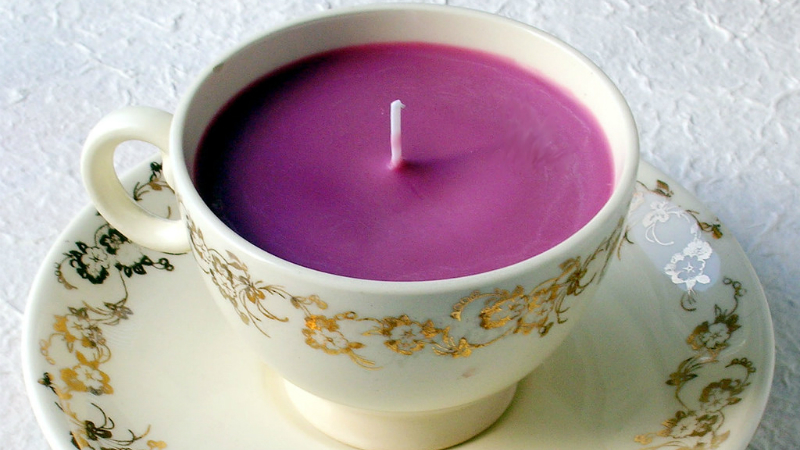
Like candles? Well then you’re going to want to make these teacup candles.
Making teacup candles is a crafty little project perfect for a lazy Sunday afternoon. Whether you have a few lone teacups from an old China pattern in a cupboard or picked up a few decorative treasures at a thrift shop, this is a great way to put them to good use. In addition to adding some visual interest around the home, these candles make lovely gifts.
Here is actually a really nice teacup candle on Amazon – if you don’t have time to make your own.

What you need:
- Tea cups, vintage or old ones you have around the house will do
- Soy candle wax flakes, soy is best since it does not smoke when burned
- Candle wicks, measure the depth of your teacups to purchase the correct length
- Wooden skewer sticks
- Pouring pot for candle making or other heat safe vessel (preferably with a spout)
- Tape
- Candle dye, optional
- Essential or fragrance oils, optional
Instructions:
- Make wick supports by placing each candle wick in between two wooden skewer sticks and secure the ends with tape to hold in place (wicks should be a little longer than needed). Each candle needs one support.
- Measure the amount of wax you need. This depends on the size of your teacup(s).
- Position the wick in the center of each teacup so the metal base touches the bottom. As said, the wicks should be longer than needed.
- Pour 2-3 inches of water into a saucepan.
- Bring to a boil and reduce to a simmer.
- Place your pouring pot/heat safe vessel in the simmering water.
- Pour in your wax flakes.
- Stir until melted. You can now add the candle dye and essential oils or fragrance oils selected (use both sparingly).
- Use an oven mitt to remove the pot from the simmering water once the wax has completely melted and the desired color and scent is achieved.
- Carefully pour the wax into your teacups while making sure to avoid the wooden skewer wick supports. Teacups should be filled ¾ of the way.
- At this point, you should either immediately wash any wax out of the pot/heat safe vessel used before it hardens or return it to the simmering water if you need to melt more candle wax.
- Leave your candles to harden for 3-4 hours. They should appear smooth and solid when ready.
- Trim your wicks with sharp scissors and discard the wooden skewers.
- Light and check out your beautiful work!


