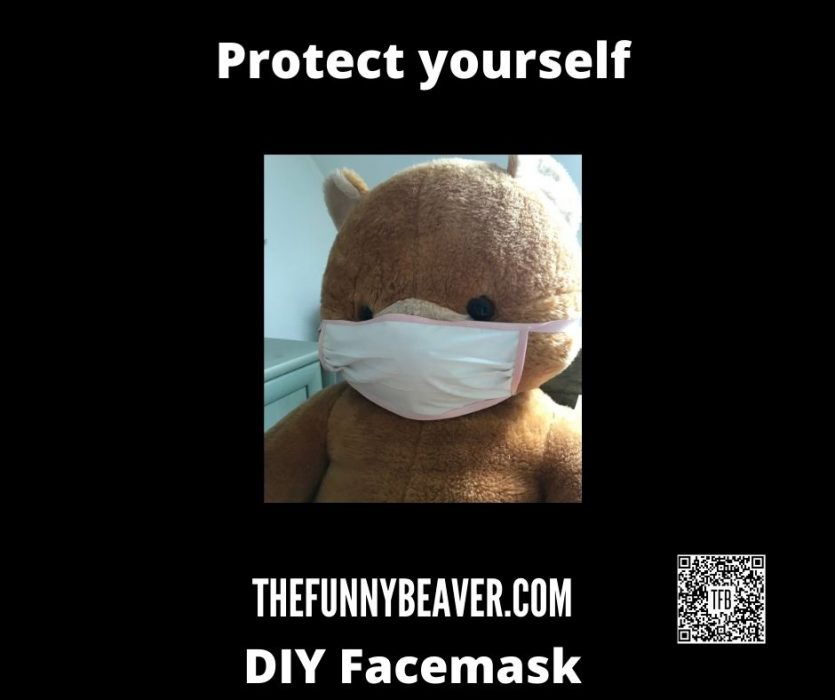
How to Make Your Own DIY Home Made Face Mask
The world opinion keeps changing on the effectiveness of masks in protecting you from catching viruses. Countries in Asia are firmly in the “wearing mask is a must” camp while countries in the west continues to claim that masks are not necessary unless you’re a medical professional treating sick patients, or are sick yourself. Others claim that countries which mandate mask wearing like the Czech republic, are more successful at curbing the spread of the virus than countries that don’t. Whatever your personal opinion maybe, there is a worldwide shortage of masks, and an abundance of people with lots of time on their hands. So if you’re looking for something to do other than bingewatching shows on TV, why not make your own DIY Home Made Face Masks. Just in case.
If you’ve never sewn anything before, it’s not rocket science. Here’s a youtube video to give you a crash course on sewing:
Once you’ve figured out sewing, you too can make a DIY home made face mask by following these instructions. Some items that you might need to get you started are:
Equipment
Sewing Machine:
Sewing Kit:
Scissors (for fabric):
Tailor’s Pins (Dressmaker Pins):
Steam Iron:
Ribbon (edge and strap material):
Instructions
Step 1
Find a piece of fabric and cut into a 12 inch by 12 inch square. Then fold the fabric in half and use a steam iron to flatten the crease. This forms the mask.
Step 2
Take a 1/4 inch (0.6 cm) fold of fabric in the middle of the the fabric and using pins, hold the fold in place.
Step 3
Repeat Step 2 and make 3 folds in total.
Step 4
Prepare edge pieces by cutting 2 x 7 inch long pieces of ribbon or 1 inch wide fabric.
Prepare strap pieces by cutting 2 x 36 inch long pieces of ribbon or 1 inch wide fabric.
Step 5
Place the edge piece under the short edge of the mask and fold the edge piece over itself covering the edge of the mask. Then pin the edge piece in place.
Step 6
Using a sewing machine or needle and thread, sew the edge piece so that the stitching goes from the top half of the edge piece, through the mask and then through the bottom of the edge piece. Once you’ve sewn the entire length of the edge. Be careful to sew next to the pin or remove it when approaching the pin with the sewing machine.
Step 7
Repeat for the opposite edge. Once sewing is complete, you can cut the excess edge piece so that it just covers the length of the mask.
Step 8
Place the mask lengthwise on the middle of the strap piece. Fold the strap piece over itself along the long edge of the mask and pin in place.
Step 9
Start sewing the strap piece just before where the mask begins and then sew along the entire length of the mask. Make sure to go through the top half of the strap, through the mask, and then out the bottom of the strap piece so the mask is secured by the stitching. Again beware of the pin when and remove as appropriate when you reach the pin when sewing with a sewing machine.
Step 10
Repeat for the other side and you have the finished product!
Optional Modification:
For convenience, you may wish to tie the strap ends to a rubber band so that the entire mask can have an elastic fit instead of needing to be tied around the back of your head.
If you’re still feeling creative, we also have detailed directions to make DIY hand sanitizers.
How To Card
Yield: 1 mask
DIY Home Made Face Masks to Protect Yourself from the Corona Virus
Prep Time:
10 minutes
Active Time:
30 minutes
Total Time:
40 minutes
DIY Home Made Face Mask to Protect You and Your Family
This is a simple set of instructions to make a fabric reusable face mask.
Materials
- Main Mask
- 12 inch x 12 inch piece of fabric (30cm x 30cm) – 1 piece
- Edge
- 7 inch x 1 inch strips of fabric or ribbon (17cm x 2.5cm) – 2 pieces
- Straps
- 36 inch x 1 inch strips of fabric or ribbon (90cm x 2.5cm) – 2 pieces
Tools
- Sewing machine or needle and thread
- Scissors
- Pins (seamstress pins)
- Steam iron


